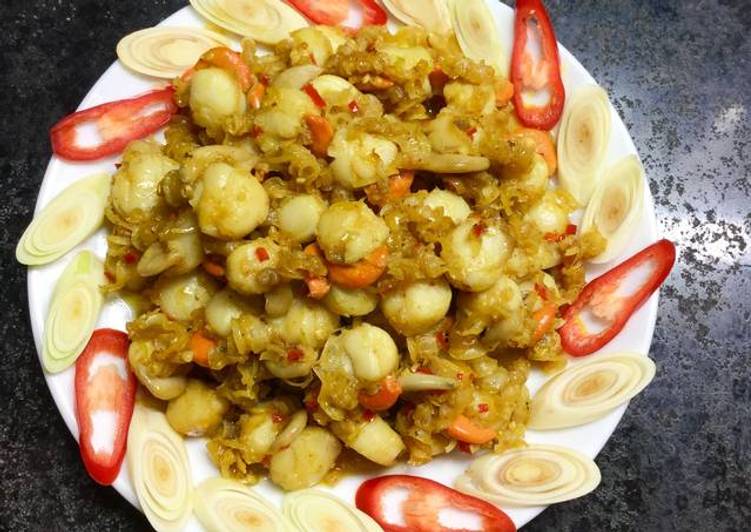
Stir-fried Scallops with Lemongrass and Chili. I used chili garlic paste and lemongrass paste to save time. Our grocery store doesn't carry Thai chilies so we used Serrano. We've made it twice and so far it's a hit, with even the young kids eating it.
 It brightens the spirit with its fragrant aroma and sunny disposition. Fresh lemongrass and lime zest infuse the coconut milk and whenever I get a whiff, I feel uplifted. Scallops already taste incredible, but adding a bit of creamy butter, garlic, and fresh herbs at the end of cooking makes them restaurant worthy.
Hey everyone, it is John, welcome to my recipe site. Today, I'm gonna show you how to make a distinctive dish, stir-fried scallops with lemongrass and chili. It is one of my favorites. This time, I'm gonna make it a little bit unique. This is gonna smell and look delicious.
Stir-fried Scallops with Lemongrass and Chili is one of the most favored of recent trending meals in the world. It's easy, it is quick, it tastes yummy. It is enjoyed by millions every day. Stir-fried Scallops with Lemongrass and Chili is something that I've loved my entire life. They're nice and they look fantastic.
I used chili garlic paste and lemongrass paste to save time. Our grocery store doesn't carry Thai chilies so we used Serrano. We've made it twice and so far it's a hit, with even the young kids eating it.
To begin with this particular recipe, we must prepare a few components. You can have stir-fried scallops with lemongrass and chili using 8 ingredients and 8 steps. Here is how you can achieve it.
The ingredients needed to make Stir-fried Scallops with Lemongrass and Chili:
- {Get of washed scallops.
- {Make ready of garlic.
- {Take of stalks lemongrass (cut about 10 cm from root).
- {Make ready of cooking oil.
- {Take of seasoning powder+1/2 teaspoon salt.
- {Take of annatto oil (can be replaced by 1/2 teaspoon curry powder).
- {Get of sugar.
- {Prepare of cayenne pepper (cow-horn pepper)+ some bird's eye chilies.
While the first side is browning, dust the unseasoned side of the scallops with a bit of flour and season them with salt and pepper. This green stir-fry is great for the colder winter months and takes advantage of seasonal Brussels sprouts and leeks as well as spinach and edamame. This Green Monster stir-fry is rich and delicious yet still healthy and packed with seasonal vegetables, like Brussels sprouts and leeks. This Stir-Fry Shrimp with Thai Roasted Chili Paste is really easy to make - the trick is in the flavorful Chili Paste.
Steps to make Stir-fried Scallops with Lemongrass and Chili:
- Garlic, peeled, crushed and finely chopped..
- Scallop meat, washed. Take 1/4 of the chopped garlic, 1/3 teaspoon of seasoning powder to season the scallops in about 5 minutes. Heat 1 teaspoon of cooking oil in a wok over high heat, when it's really hot, pour scallop meat into the wok, quickly toss in 1 minute. Turn off the heat, pour scallop meat into a strainer to drain the liquid from it. (Because scallops in Vietnam often exude so much liquid when stir-fried, if we stir-fry them until dried up, the scallops will be chewy. If the scallops at your place are bigger, more delicious and contain less liquid, you can skip this step). You just need to rinse the scallops well then pat them dry..
- Peel off any old outer leaf of lemongrass, rinse well and thinly slice. Then finely chop (but not into a smooth texture).
- Chili. Cut lengthwise from stem to end, de-seed, julienne and finely chop. If you love pungency, add some bird's eye chilies, this cayenne pepper is not strong enough for you. (Make sure to wear gloves when doing this step if you are not used to processing chili).
- Put the wok on the stove, add one teaspoon of cooking oil. When the oil is hot, add chopped lemongrass and stir evenly in 2 minutes. When the lemongrass turns yellow and fragrant, add chopped chili and toss. Turn off the heat, remove the lemongrass and chili quickly, if not the lemongrass can be burnt because of the heat from the cooking oil. ( Some, after finely chopping lemongrass and chili, use half of this mixture to coat the scallops and the other half is used for stir-frying until fragrant then finally stir-fry with scallops. I don't follow that way as when eating, I feel that the lemongrass is not evenly distributed, the one used for seasoning the scallops is not crunchy but annoyingly rough. Therefore I fry both lemongrass and chili until fragrant then I use them to coat the scallops.).
- Continue with the scallop meat. ( The same for both drained scallops and patted dry ones from now on). Season scallop meat with the remaining seasoning powder, 1 teaspoon of sugar, 1/5 teaspoon of salt, annatto oil (can be replaced by curry powder just to color the scallop meat), all the fragrant fried lemongrass and chili, toss well and set aside to marinate from 5-10 minutes..
- Put the wok on the stove again with the remaining cooking oil from the lemongrass and chili stir-frying step (can add some more if not sufficient). When the oil is hot, add the remaining garlic to fry until yellow then pour all the coated scallop meat into the wok, stir-fry over medium heat in about 5 minutes. When scallop meat turns firm, use high heat and stir then finish when the liquid in the wok dries up. (The time for this step is from 7-10 minutes, scallop meat will be tough if stir-fried longer).
- This dish can pair well with salt, pepper and lime or salt, green pepper dipping sauce..
Made with dried chilies, tamarind juice, garlic, shallots, fish sauce, dried shrimp, sugar and salt, this is one of those pantry items that can transform almost any dish instantly. thinly sliced stir-fried beef flavored with thai herbs, lemongrass and lime juice. shrimp, squid, scallops, and mussels with lemongrass, chili paste and lime juice. Garlic Sauce Stir fried with chopped garlic. Lemon Scallops Sautéed sea scallops with garlic, ginger, mushrooms and green oriental vegetables, in a fresh Lemon Prik-Pow sauce. Indian Mee Goleng Stir-fried Lomein noodles, shrimp, egg, carrots and bean sprouts, in light soy sauce and chili paste. Stir-fried thin rice noodles with egg, chicken, shrimp, bean sprouts, crushed peanuts and scallions.
So that is going to wrap this up for this special food stir-fried scallops with lemongrass and chili recipe. Thank you very much for reading. I'm confident you will make this at home. There's gonna be interesting food at home recipes coming up. Remember to bookmark this page in your browser, and share it to your family, friends and colleague. Thank you for reading. Go on get cooking!
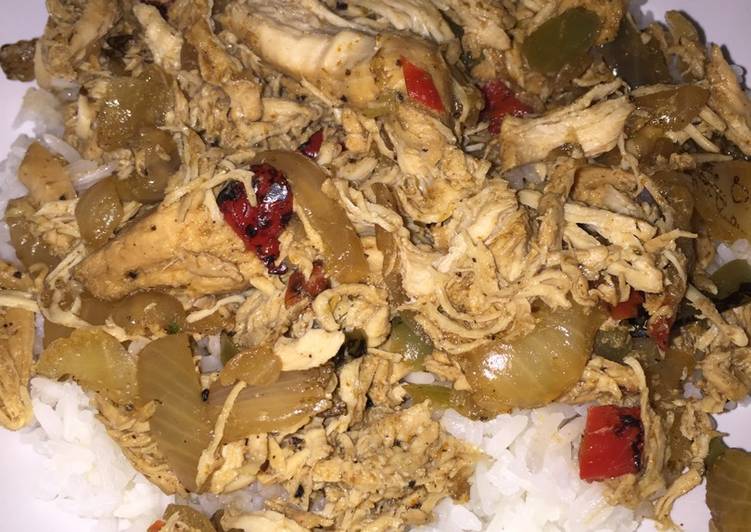
 Sheree's Pressure Cooker Chili Recipe by MsKipper. There's a reason that my recipe for easy green chili with chicken made in the pressure cooker is one of my most popular pressure cooker dishes. Here's the gist of it: Dump some ingredients into a pressure cooker.
 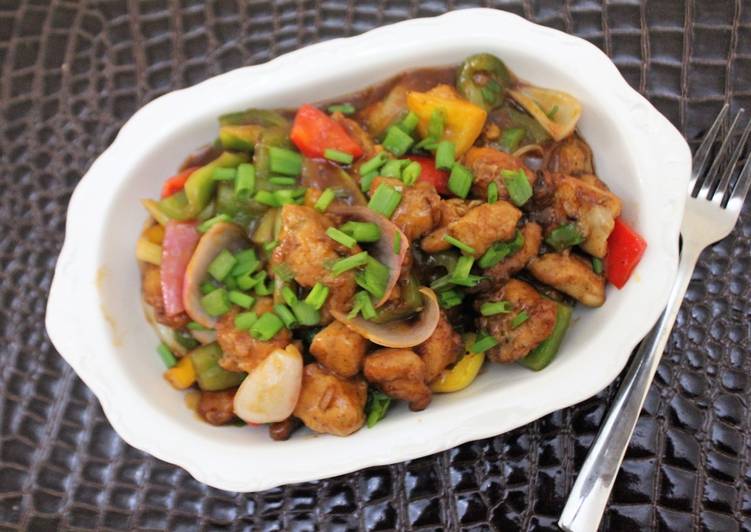 Restaurant style sweet and sour chicken. You can also make this with pork or shrimp. This takes some time in preparation but you can also use frozen chicken.
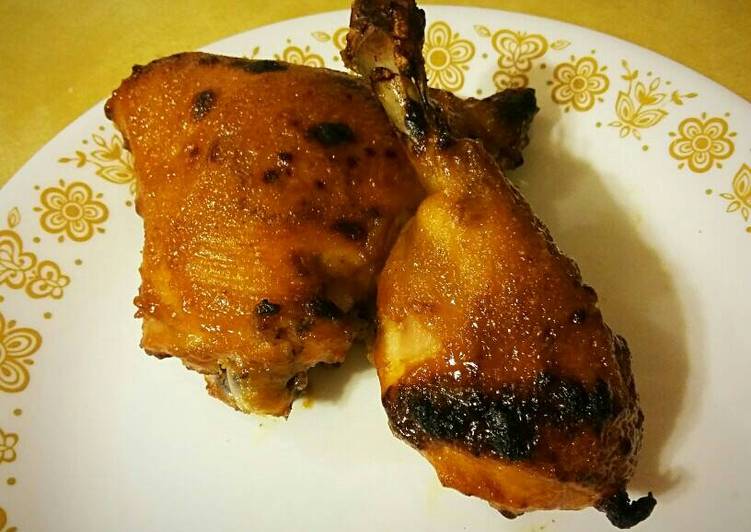
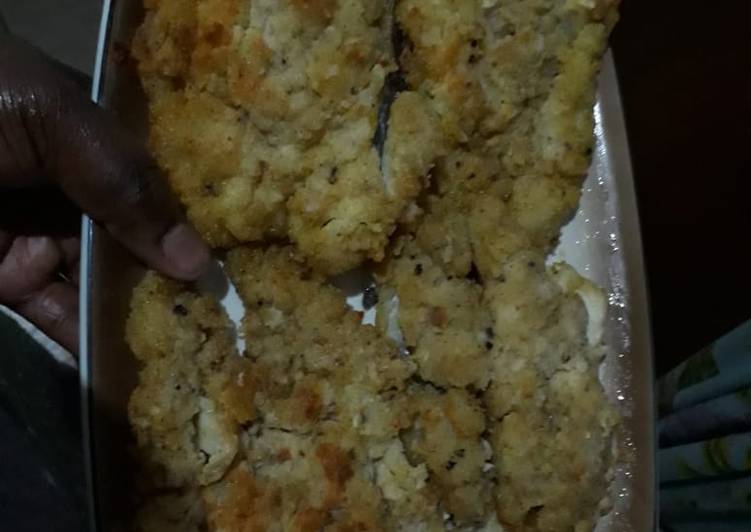 Thousands of new, high-quality pictures added every day. Pan Fried Fish is a thing of beauty, with its beautiful crispy golden crust and juicy flesh inside. Southern Fried Cat Fish - Classic Southern Fried Catfish dipped in buttermilk and breaded in spicy seasoned cornmeal and fried to perfection.
 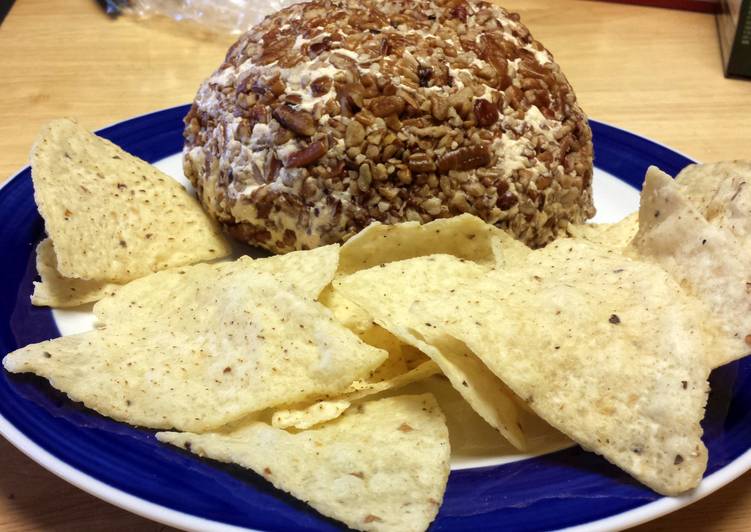 Cheese balls are always a hit, and this one will be ready to serve in no time. Chicken Cheese Balls are a delicious and crispy snack, and I think the name says it all. But seriously, how can you go wrong with chicken, cheese and a crispy coating?
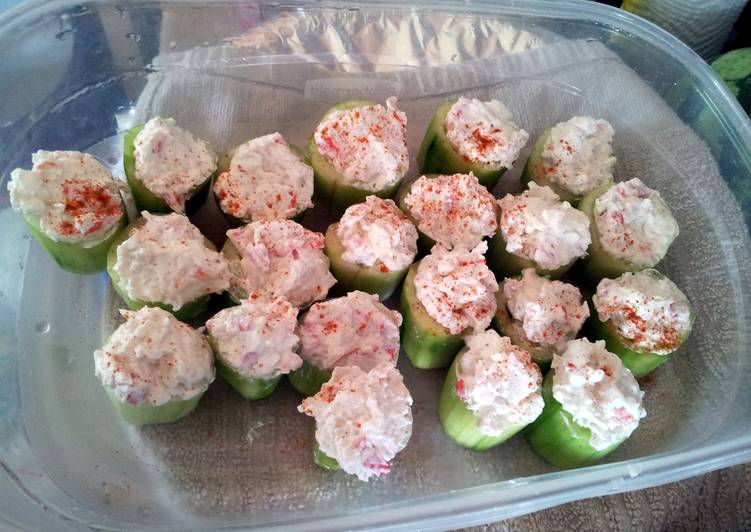
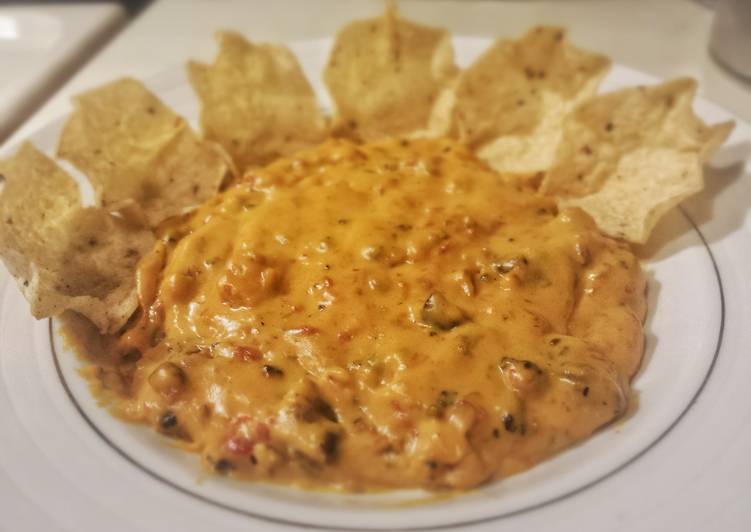
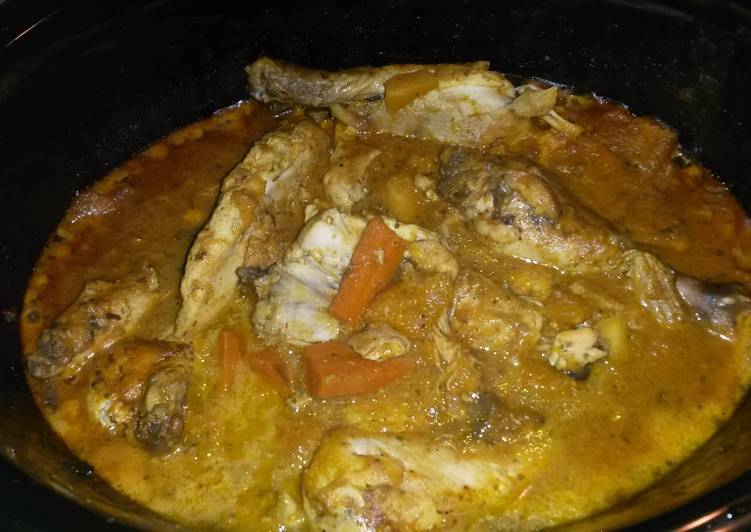
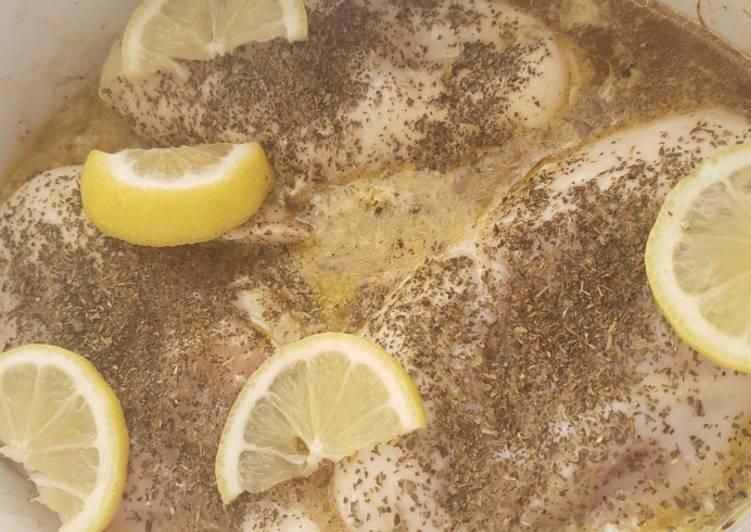 Crockpot lemon chicken is so light and refreshing for a great meal. This delicious Crockpot Lemon Chicken is so hearty and delicious and no one will believe how easy this dinner is. This entire meal is so filling and delicious but light enough to enjoy anytime of the year.
 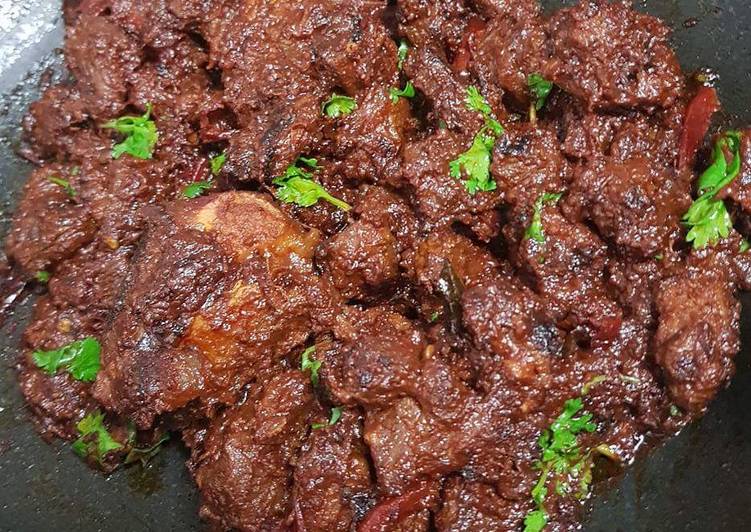 This was the best Mutton chukka varuval I have ever eaten. Thinking about it, still makes my mouth water, my friends were gratefully surprised by this special treat. Mutton Sukka Varuval / Chetinad Mutton Chukka, is a die for recipe.
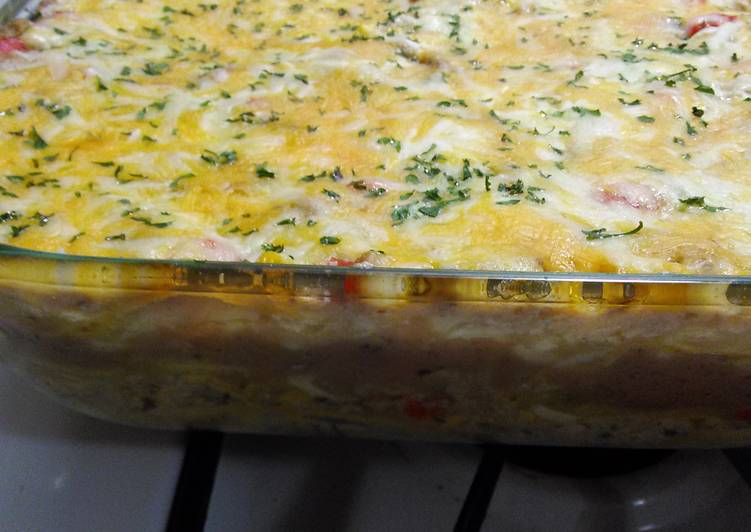

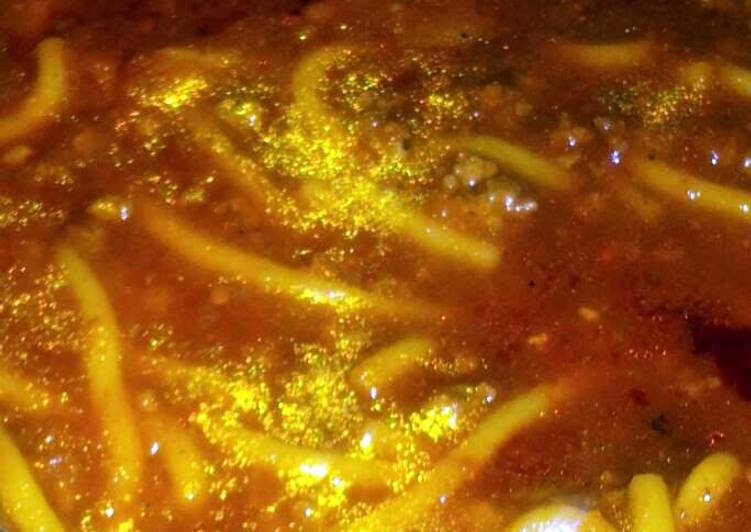
 This Italian Sausage Rotini is a husband favorite (our kids love it too)! There are several great thing you can serve on the side of this Baked Rotini with Italian Sausage. Watch step by step on how to do this easy recipe.
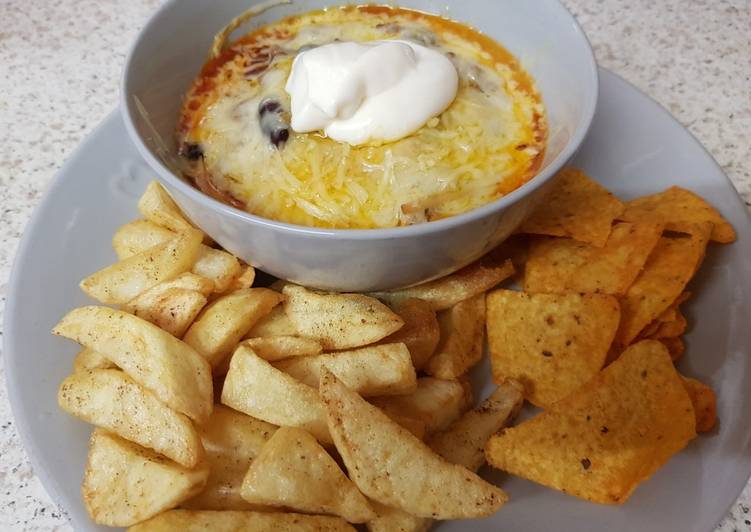
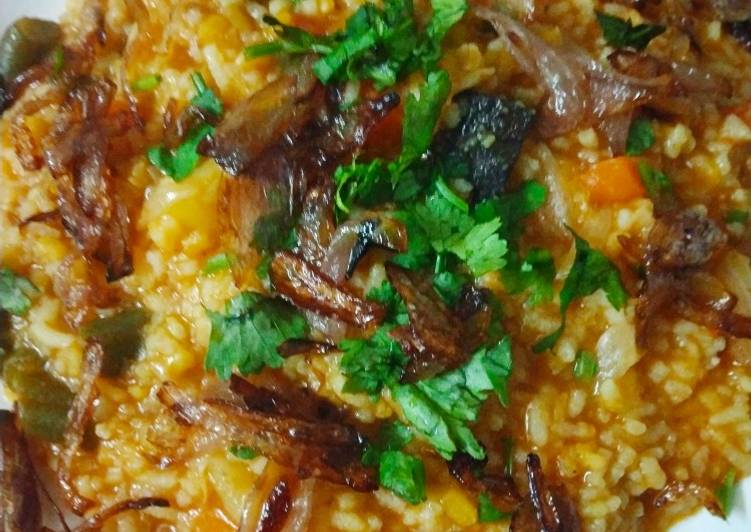 Bengali Niramish khichuri aka aka Niramish khichuri is a rice and lentil medley and is delicious. However, the recipe I follow is by my grandmother and there is nothing new to it. Find here the recipe of veg bhuna khichuri that tastes the best when paired with spicy chicken curry or mutton kosha.
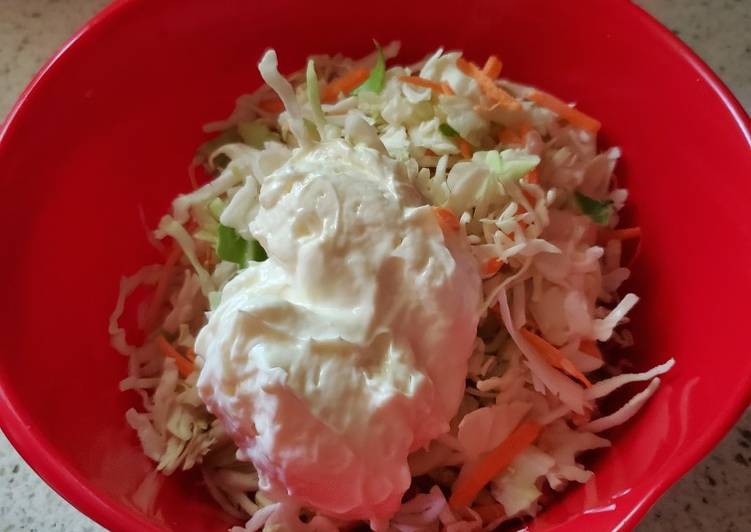
 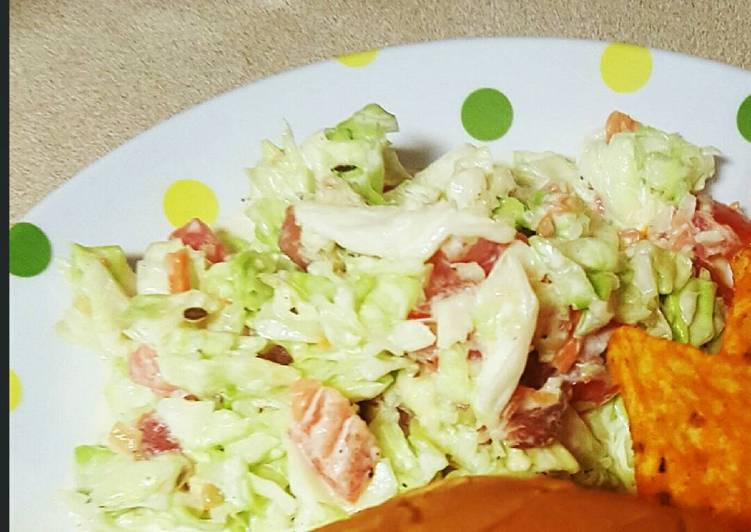 For our tastes, the cabbage and carrots are sweet enough. If you disagree, add a teaspoon or two of sugar to the dressing before. Learn how to make coleslaw two ways!
![“Fake” Cheese from Zucchini? Delicious Zucchini Cheese [Recipe]](https://img-global.cpcdn.com/recipes/3e730bc89b4317d6/751x532cq70/fake-cheese-from-zucchini-delicious-zucchini-cheese-recipe-recipe-main-photo.jpg)
 A quick, easiest snack, party food, make in oven in just few minutes. I saved this post for almost an year now in instagram, a drool-worthy casual shot of chilli cheese toast. Add the cheeses, egg yolks, salt, chopped chilli, garlic, pepper and chopped coriander, return to a low heat and cook gently until all the cheese has melted and Heat the grill to maximum.